Modern Big Loop Ear Wires: A Wirework Basics Tutorial
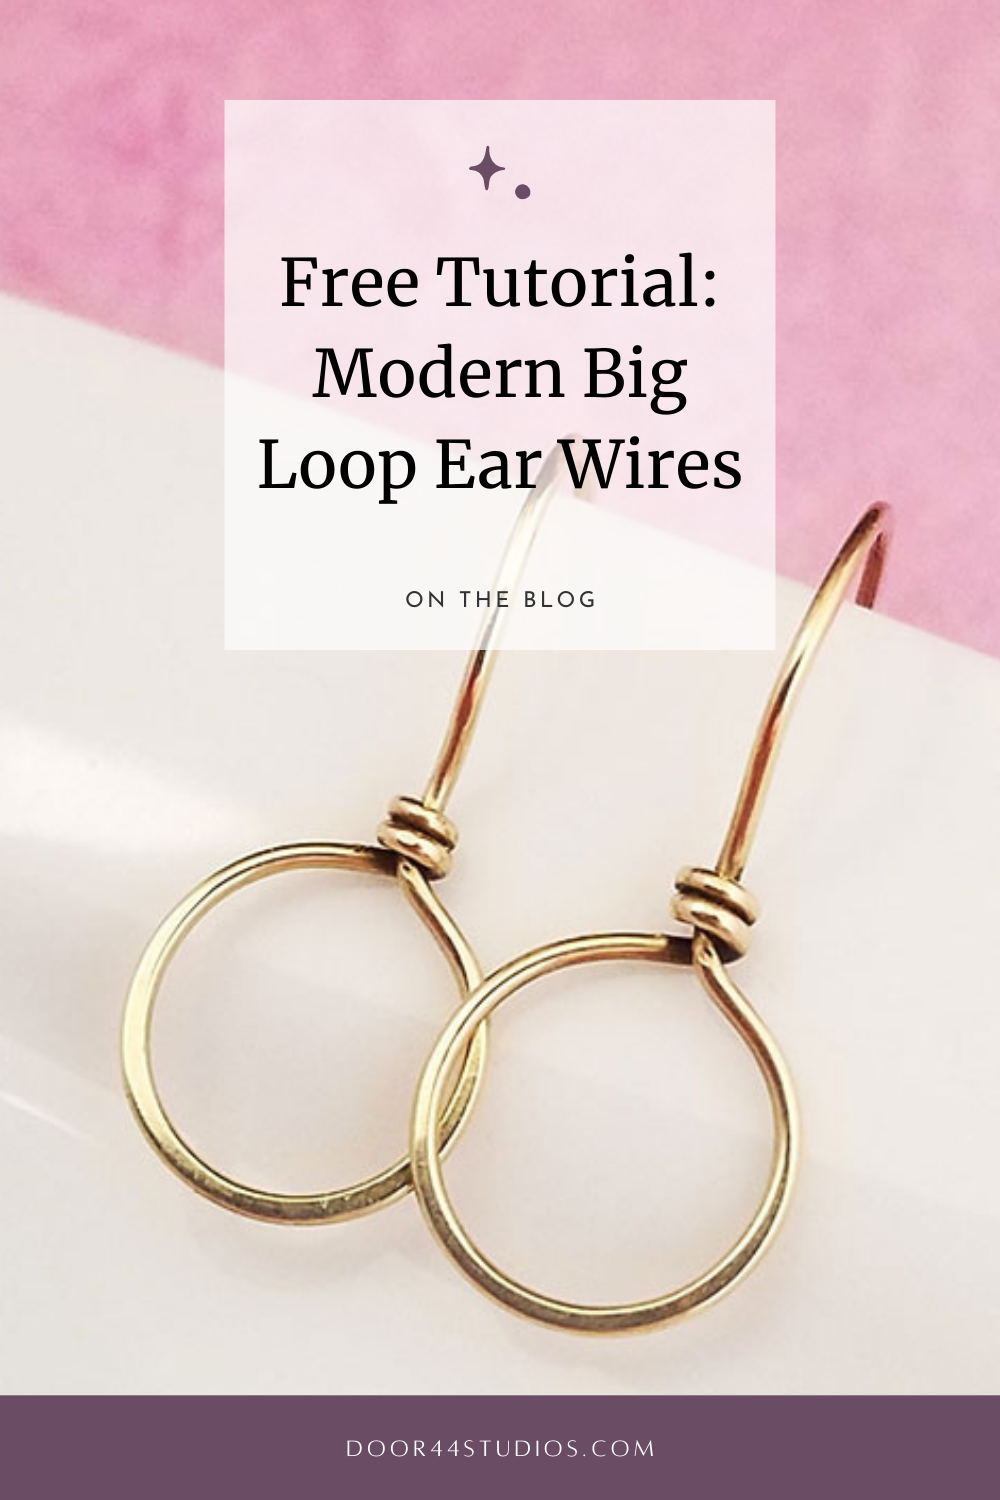
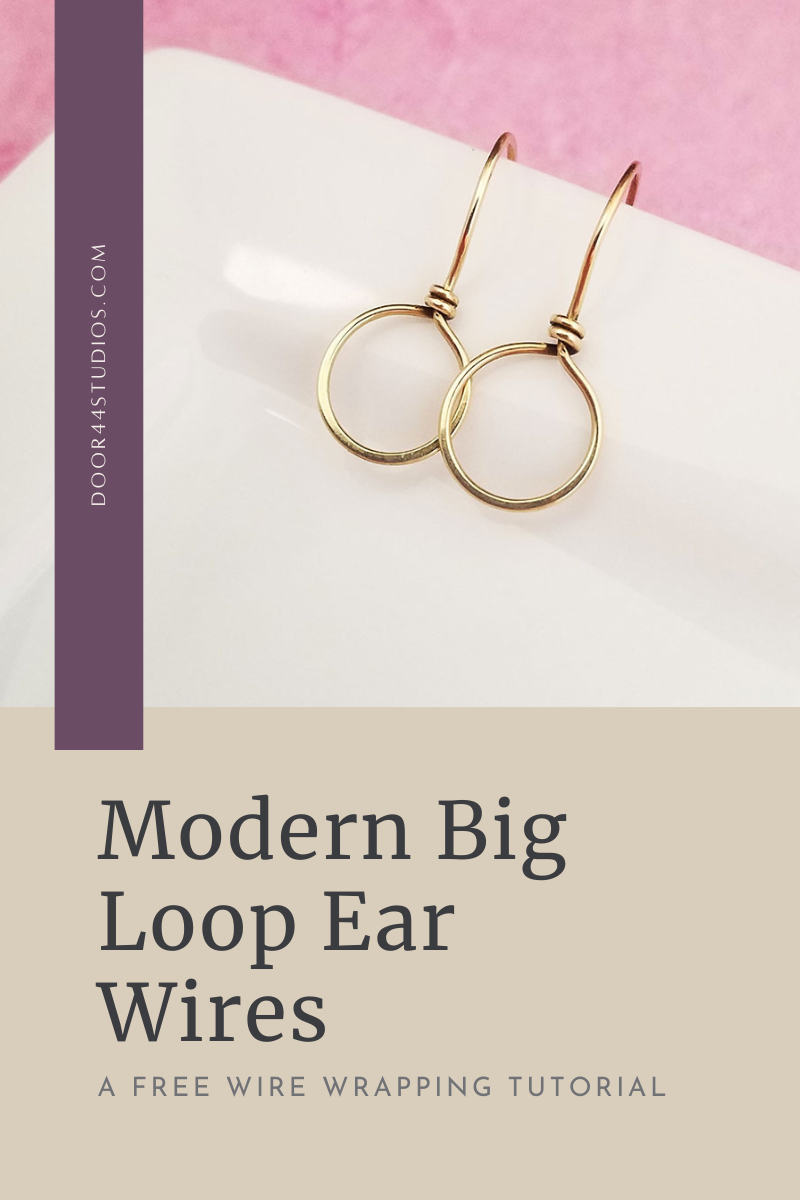
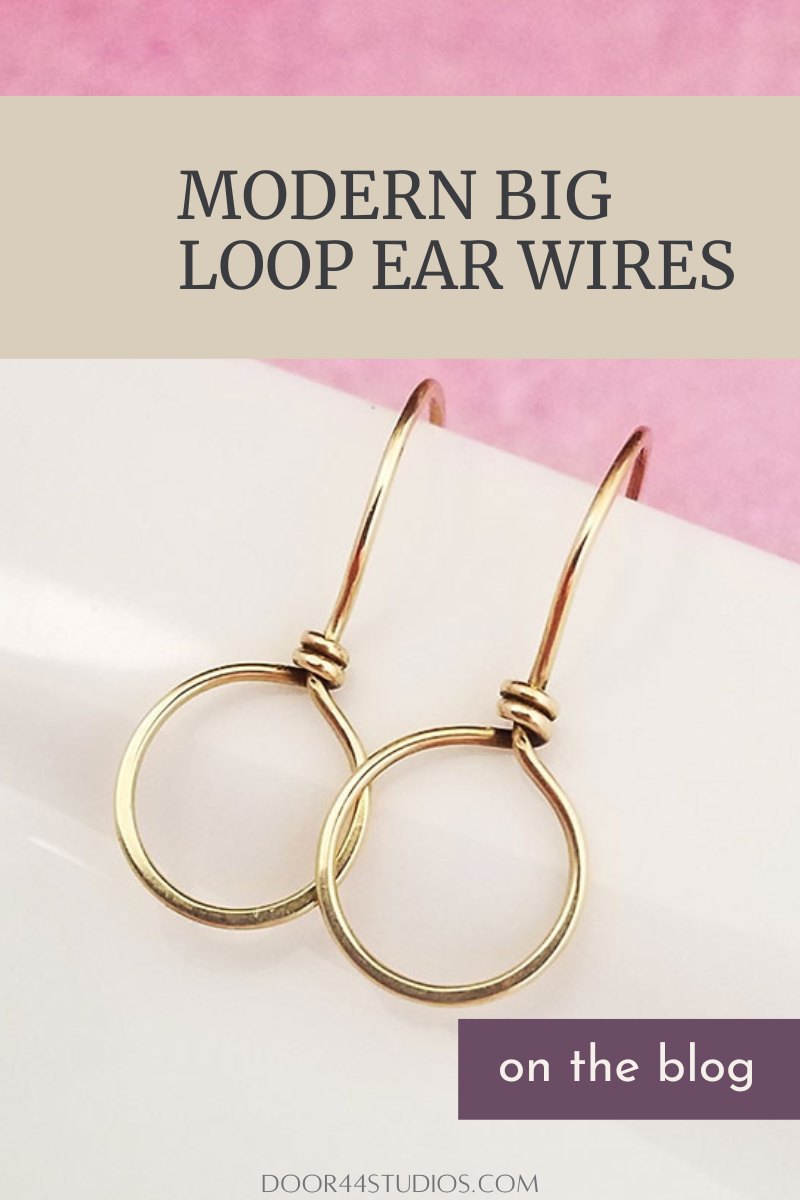
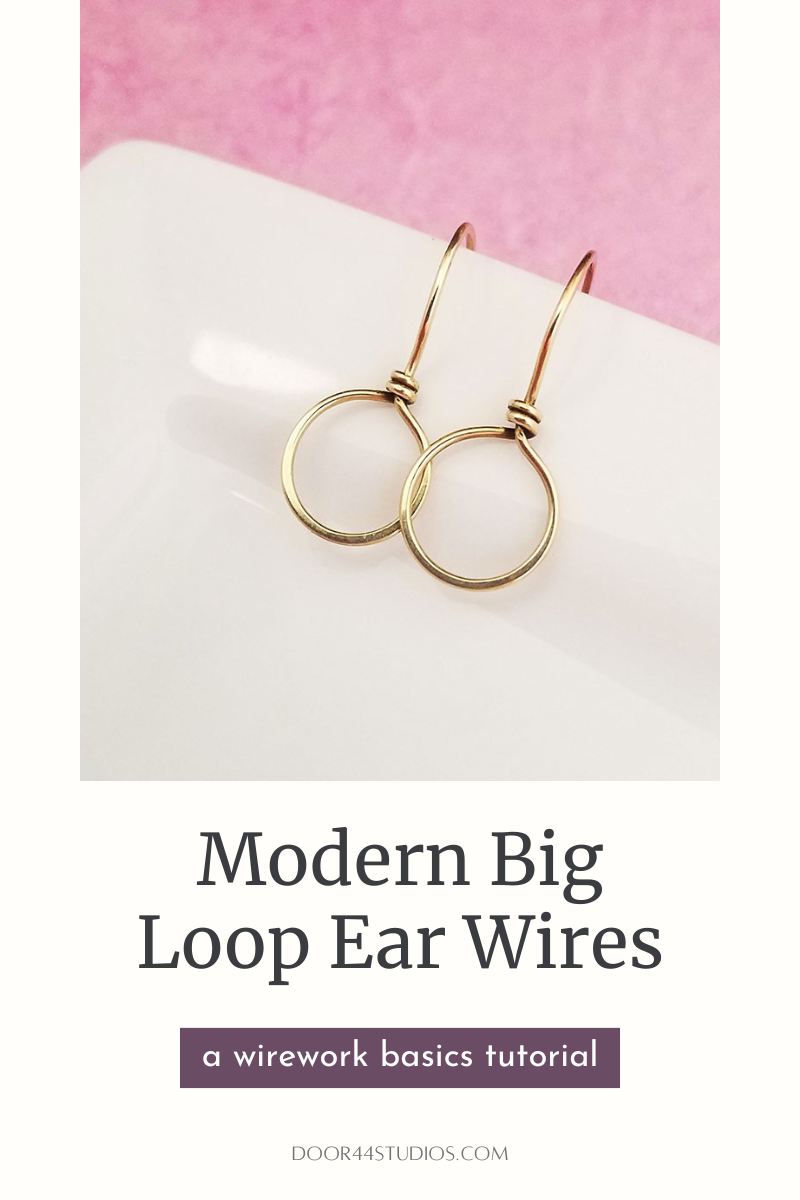
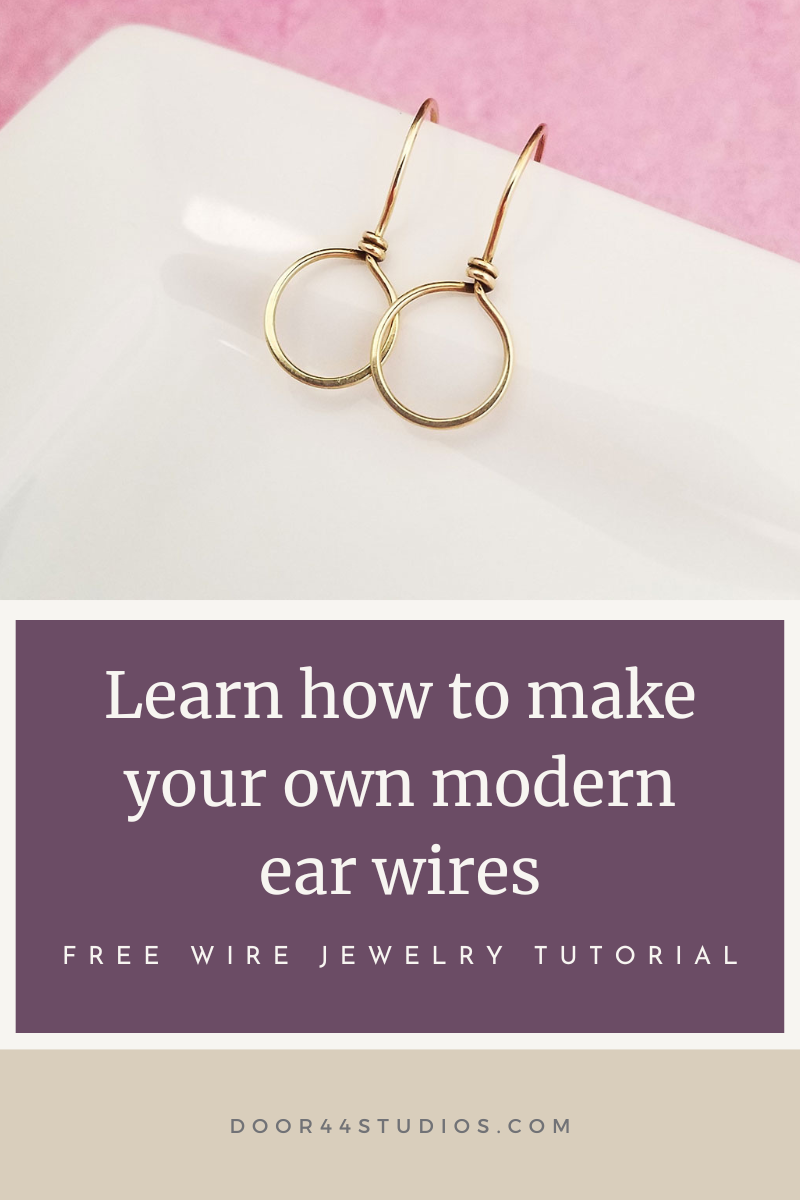
Are you looking for a unique ear wire to complement your minimalist earring designs? These elegant and versatile Modern Big Loop ear wires are the perfect finishing touch for your handmade earrings. Leave them unadorned for a sleek minimalist look. Embellish them with beaded dangles to add a pop of color. Or even add some beaded fringe for a bold graphic statement.
Circles are a popular shape right now, and brass is really having a moment in fashion and in home décor. So, I chose to use jeweler’s brass wire (also known as rich low brass, red brass, or 230 brass) for my own Modern Big Loop ear wires. I’ve never been a fan of yellow metals, but I find myself drawn to the graphic brass jewelry designs that we’re seeing lately.
You can make the loops on your ear wires virtually any size. I’ve used three different sizes for my own ear wires, 6mm, 8mm, and 9mm. And they all work beautifully for various earring designs. So, don’t be afraid to experiment with different sized loops.
Copyright & Disclosure
You’re welcome to make and sell products from this tutorial. These ear wires are a common design, so I claim no exclusive rights to the design itself.
When it comes to my written tutorials, however, I reserve exclusive rights to all images and written content. You may not reproduce or redistribute any portion of the Modern Big Loop Ear Wires tutorial in any way, shape, or form.
This copyright applies to the printable PDF version of the Modern Big Loop Ear Wires tutorial as well, and it’s included therein. You may share the free version of this tutorial only by linking directly to this page.
This post may contain affiliate links. If you click on a link and then make a purchase, I may earn a small commission (at no cost to you). As an Amazon Associate I earn from qualifying purchases. To learn more, please see my full disclaimer.
Want a printable version of this tutorial?
Getting Started
Nothing adds the perfect final touch to handmade earrings quite like a pretty pair of handcrafted ear wires. And ear wires are super simple to make. So, there’s really no reason to buy ear wires that were manufactured by the thousands in China. Do yourself a favor and learn to make your own ear wires. Your customers will appreciate that extra handmade detail. And you may even come up with your own signature ear wire style!
This is a basic wirework project that can be achieved by someone who has never worked with wire before.
Choosing Wire for Earring Findings
I used 20g dead soft brass wire for these ear wires. 20g wire is a comfortable gauge for pierced ears, so it’s my #1 choice for ear wires. And brass is an affordable alternative to gold filled wire because the color is similar to 14k gold. But if you’re used to working with copper, you’ll find that brass is noticeably harder than copper wire. It has a very different feel, even though it’s dead soft. So, it may take a while to get used to working with it. Of course, you can make these ear wires using any type of solid jewelry wire. Even a filled wire will work well for this project since we will be just lightly hammering these ear wires in order to work harden them.

Finished Size
- WIDTH: about 1/2 inch (1.27 cm)*
- LENGTH: about 1 inches (2.54 cm)
*The width of your ear wires depends on how big you make your loops. I made 8mm loops on the ear wires that I demonstrate in this tutorial, and they measure just under 1/2 inch or about 1.27 cm wide.
Instructions
If you prefer video tutorials, you can watch the video version below. Otherwise, keep reading for the written tutorial.
The instructions for these ear wires are written for the 1-inch ear wires with 8mm loops shown in the main image. However, you can change the size of your loops by simply choosing a different size mandrel. If you make your loops larger than 9mm, be sure to add enough wire to your cut lengths to accommodate the larger mandrel size.
Step 1
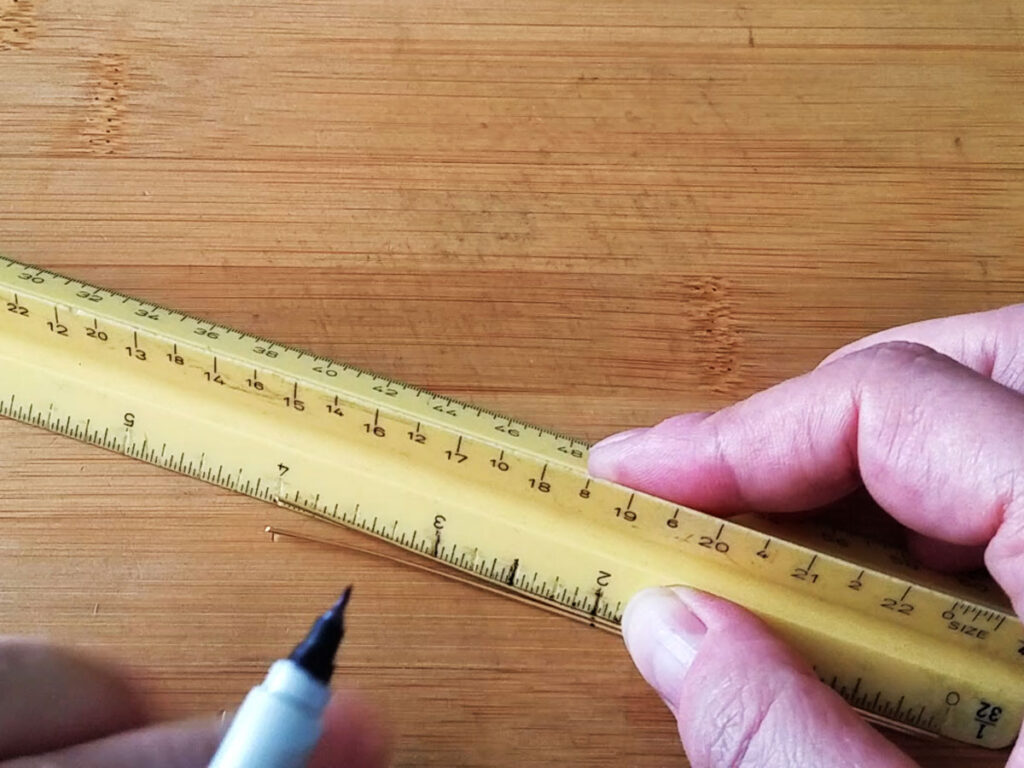
Measure and cut two 4-inch pieces of wire. Then mark those wires at the center point, as shown.
That point is where we’ll start the bend for our loops. Remember, four inches is enough wire to make loops up to 9mm in size. If you want loops that are larger than that, you’ll need to add some extra length to your wires.
Step 2 – Begin forming your loops
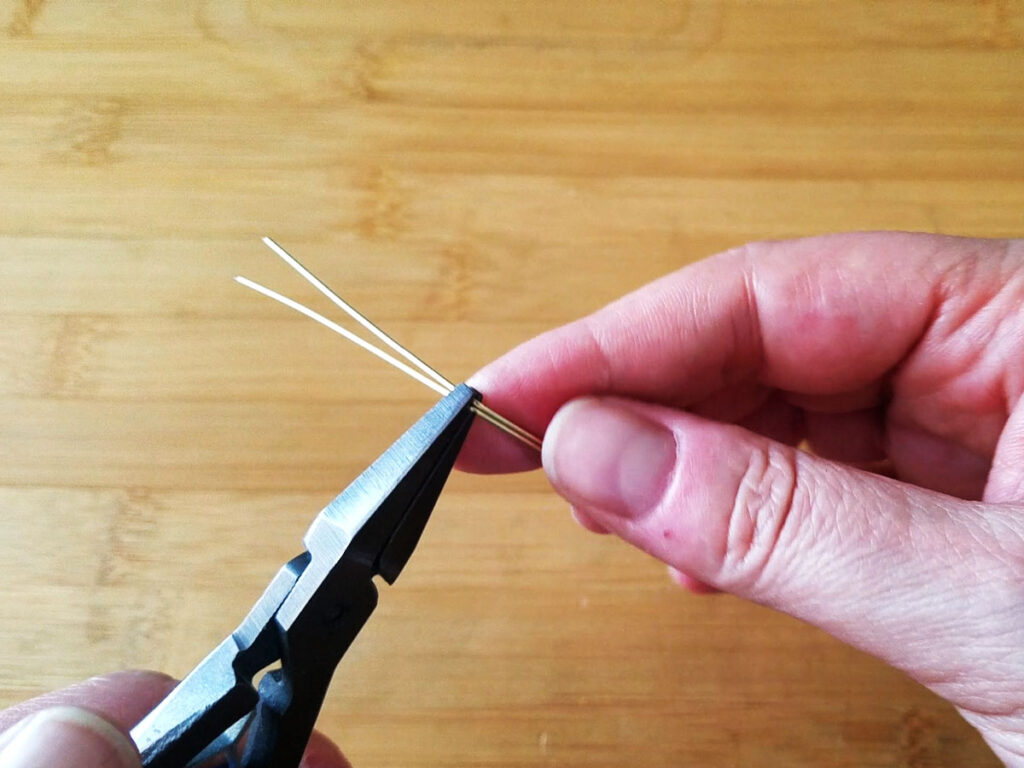
Use your flat nose pliers to create a slight bend in both wires at the center mark, as shown.
This bend should be less than 90 degrees. Somewhere between 40 and 60 degrees works well, but don’t sweat it. This doesn’t need to be precise. We’re just giving ourselves a clear starting point for our loops.
Step 3 – Finish forming your loops
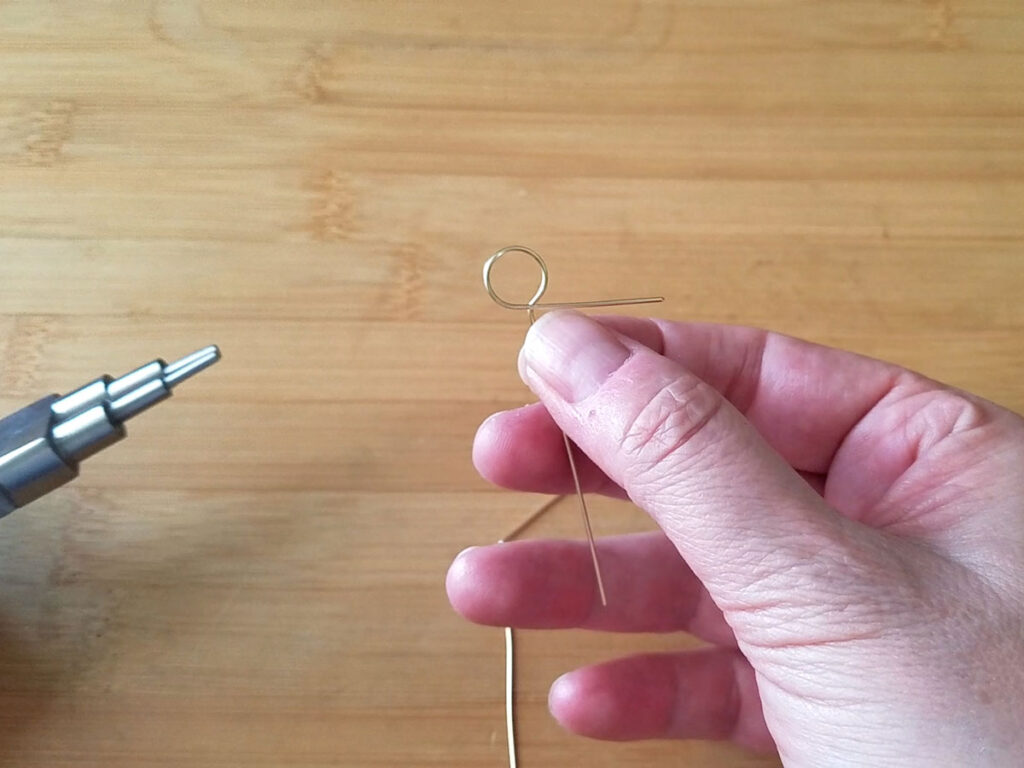
Grip one piece of wire, right at the bend, between the two largest steps of your stepped bail-making pliers. Make sure that the 8mm step (the smaller of the two) is on top.
Then roll your wire tightly around the mandrel until the your wire looks like the one shown below. Then repeat on the remaining piece of wire.
Step 4 – Wrap your loops
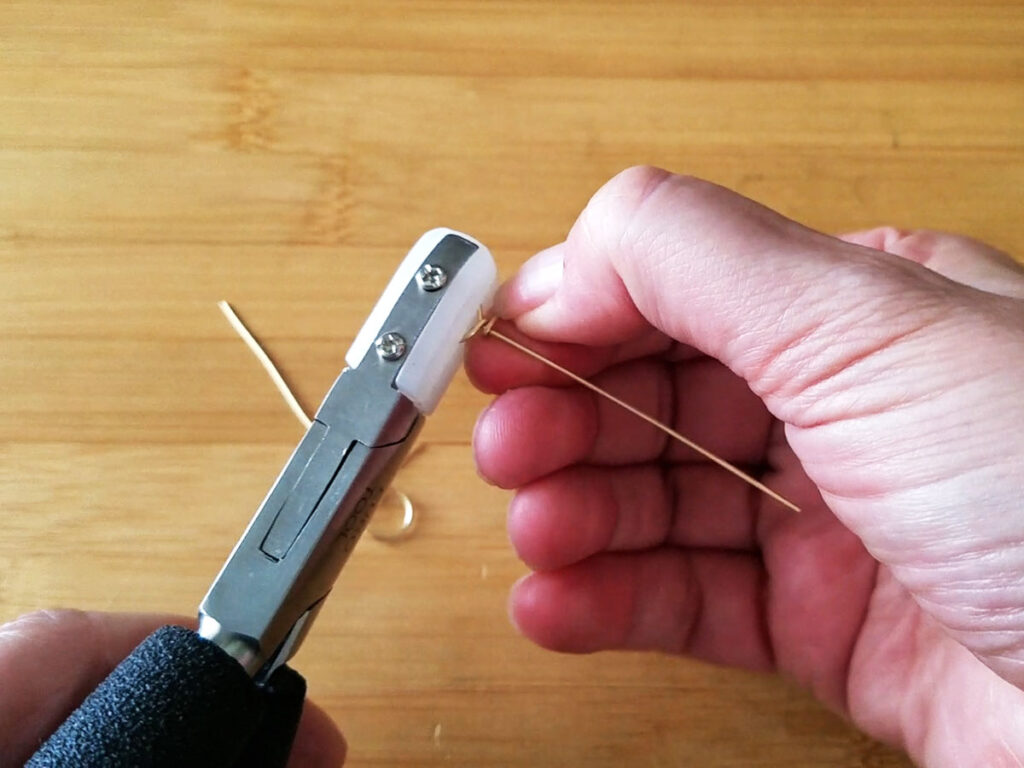
Grip one loop firmly with your nylon jaw pliers. And coil the short tail of your wire twice snuggly around the center core wire.
Repeat on the remaining loop.
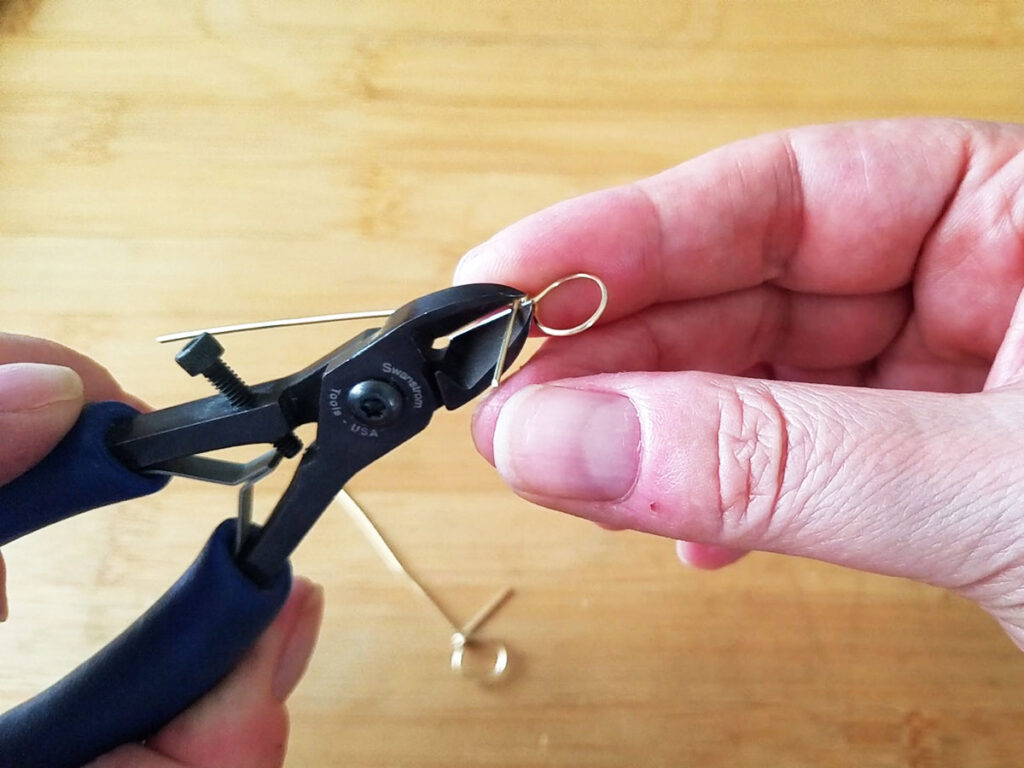
Step 5 – Trim off excess wire
Use your wire cutters to trim off the short wire tails as close to the wraps as possible.
If you don’t have flush cutters, use a needle file to smooth off any sharp points on your cut ends.
Step 6 – Tighten and neaten your loops
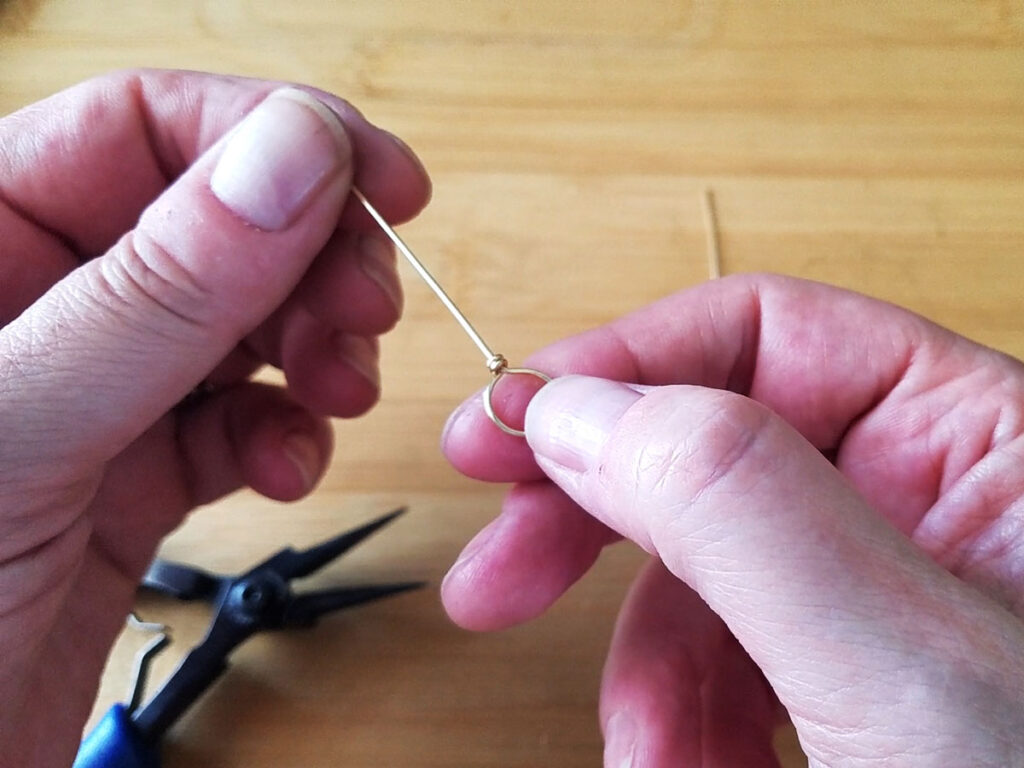
Now use your chain nose pliers to gently squeeze the wraps tight and to tuck the cut ends tightly against the center core wire. When finished, your wrapped loops should look like the one shown here.
Step 7 – Work harden the loops
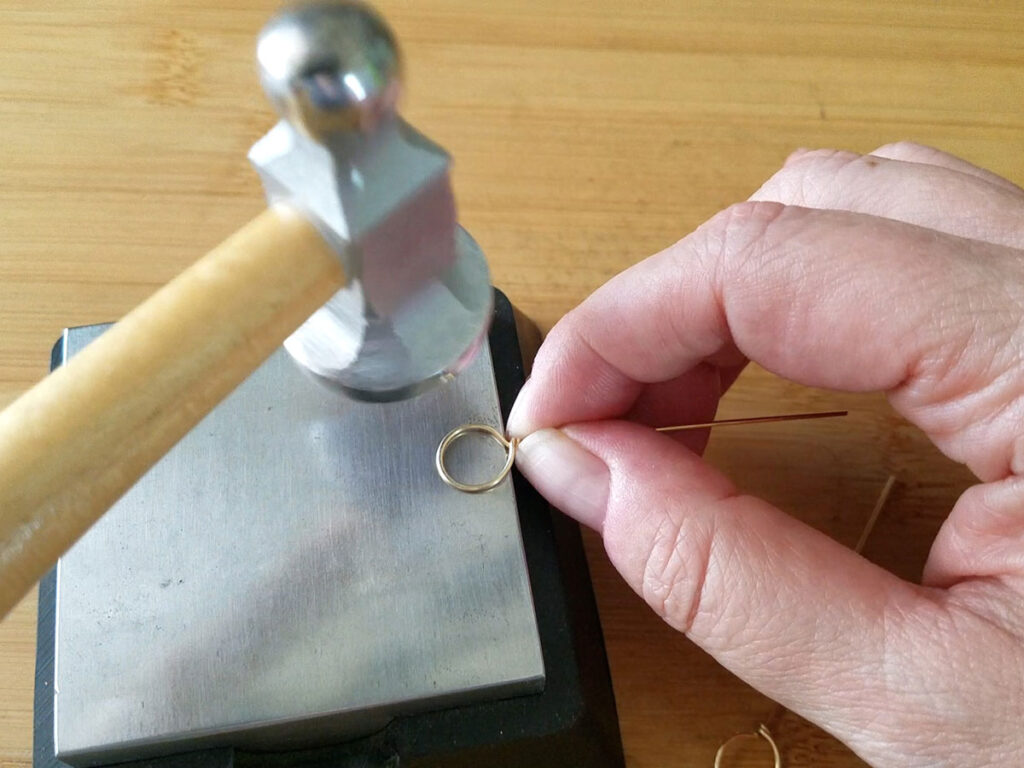
Now we’re going to hammer our loops to lock those shapes into place. You can use either a chasing hammer or a nylon mallet at this point. If you want to flatten your wire a bit, as I did, use a chasing hammer. Otherwise, use a nylon mallet to maintain the original round shape of your wire.
Step 8 – Straighten and harden the center core wires
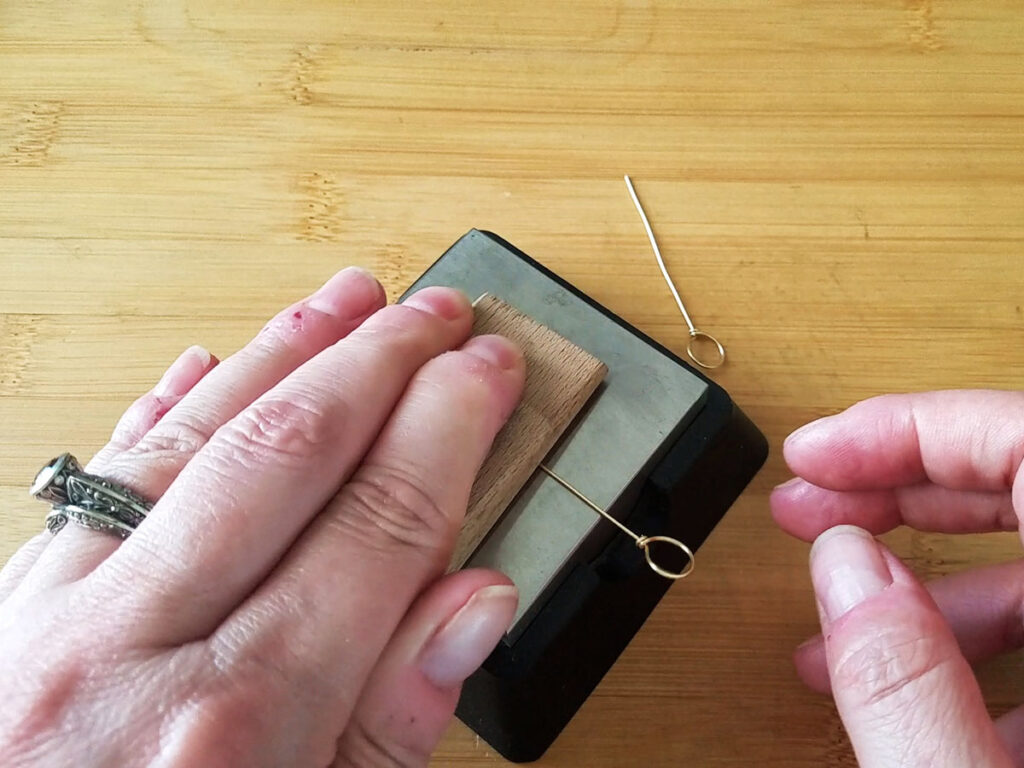
Press one wire firmly between your bench block and a piece of hardwood (I use the wedge from my ring clamp), and roll the wire back and forth on the bench block to straighten and stiffen the center core wire.
This is my favorite way to straighten and harden wire for ear wires because it results in perfectly straight and firm wires.
Repeat on the remaining wire.
Step 9 – Trim your wires evenly
Make sure your two wires are exactly the same length. If not, go ahead and trim them flush with your wire cutters. Again, if you don’t have flush cutters, make sure you smooth off the cut ends with your needle file.
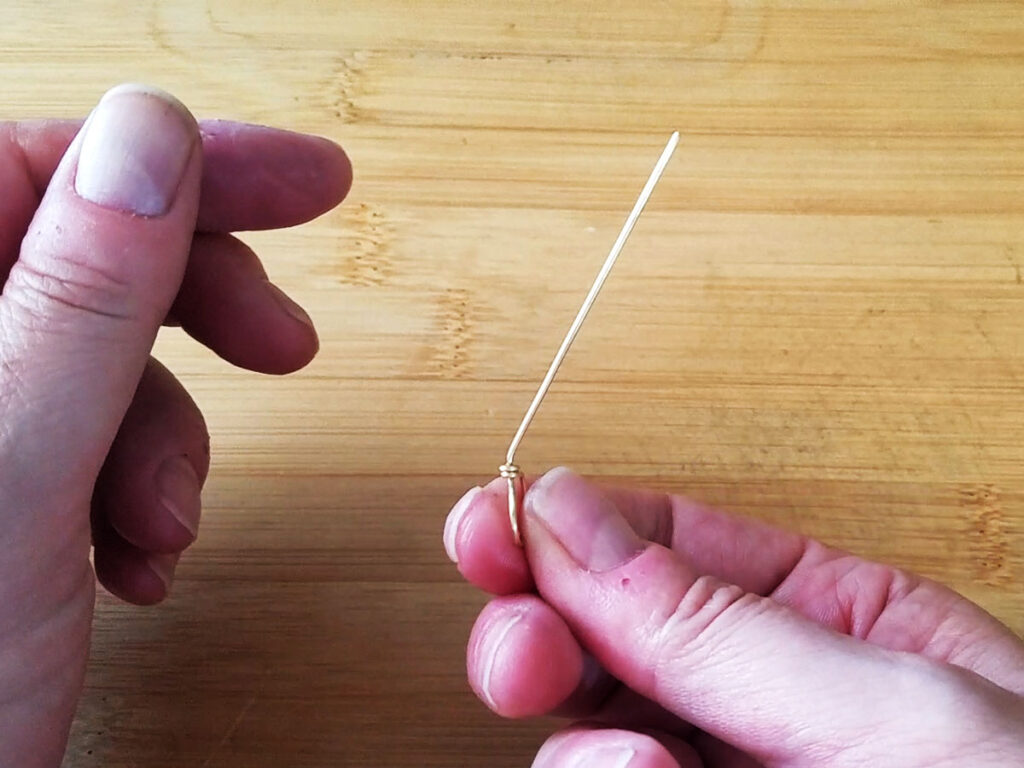
Step 10 – Tip the center core wire forward at a slight angle
Determine which face of your loop you want to be in the front of your ear wires. Then bend the center core wire slightly toward that front face of the loop. I like to press my thumbnail firmly just above the wraps and use it as leverage for making this bend.
Repeat on the remaining wrapped loop. When finished, your wires should look something like the one shown below.
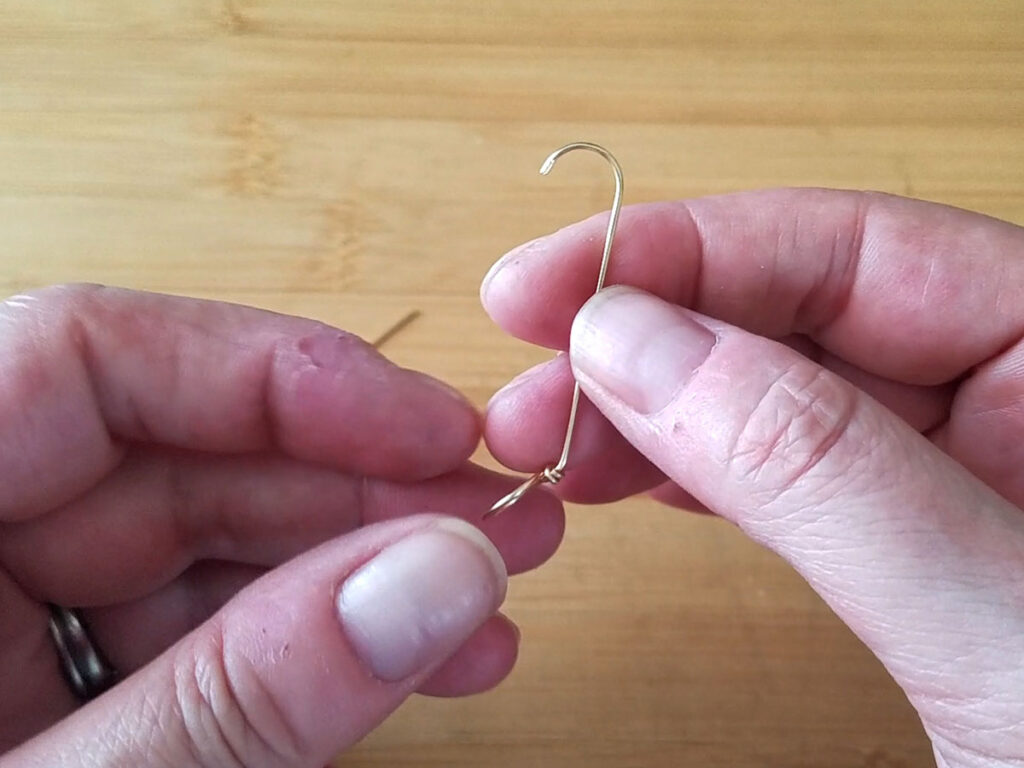
Step 11 – Now use your 8mm mandrel to hook the ends of your wires
Make sure the center core wire is tipped toward you and grip the very tip of the wire between the 8mm and 9mm mandrel. Make sure the 8mm mandrel is in front of the wire. Then roll that center core wire about half way around the 8mm step. When finished, you should have sort of an umbrella hook that looks something like the one shown below.
Repeat on the remaining wire.
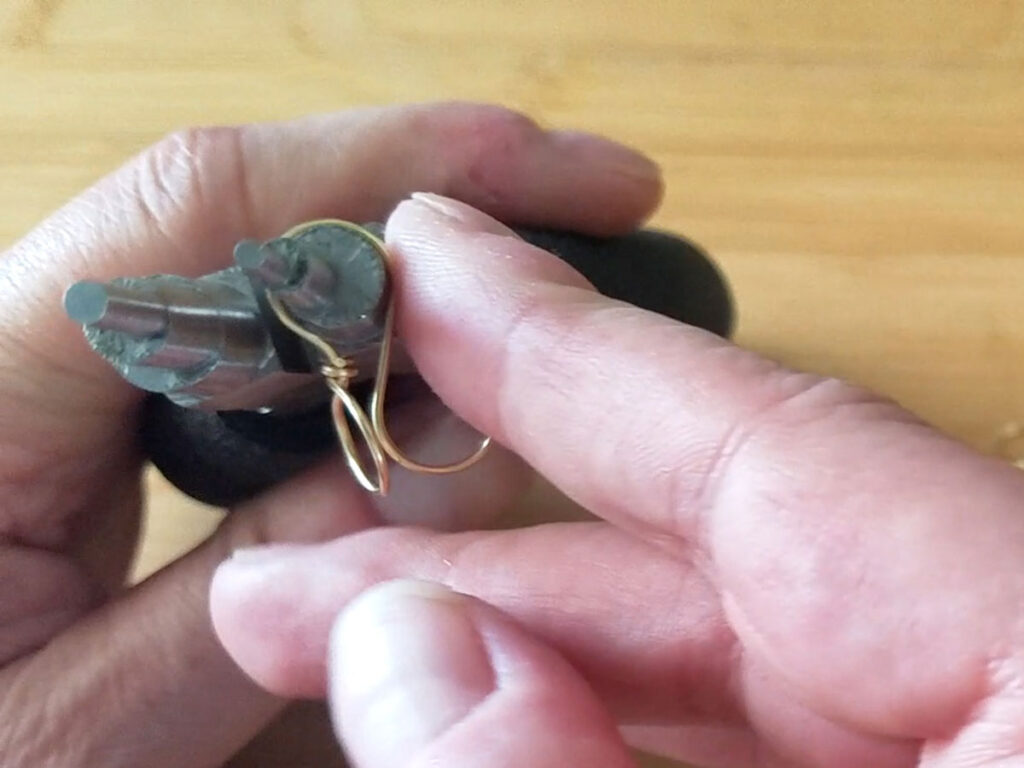
Step 12 – Use the 8mm mandrel again to complete the ear hook
Flip your stepped bail-making pliers over so the 8mm mandrel is now in the back. Then grip the wire firmly just above the wrapped loop and push the center core wire all the way around the mandrel until the hook makes contact with your wrapped loop.
Repeat on the remaining wire. When finished, your ear wire will look something like the one shown below.
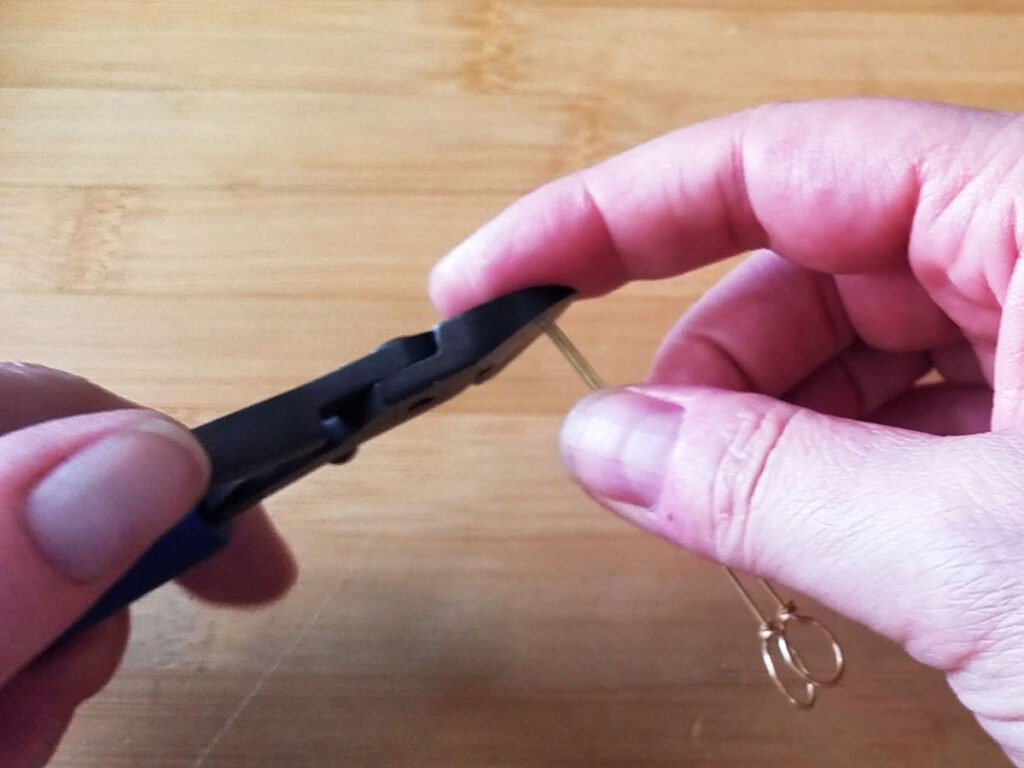
Step 13 – Trim excess wire off of the hooked end of your ear wires
Use your wire cutters to trim the ear wires at about the center point of the hook, as shown.
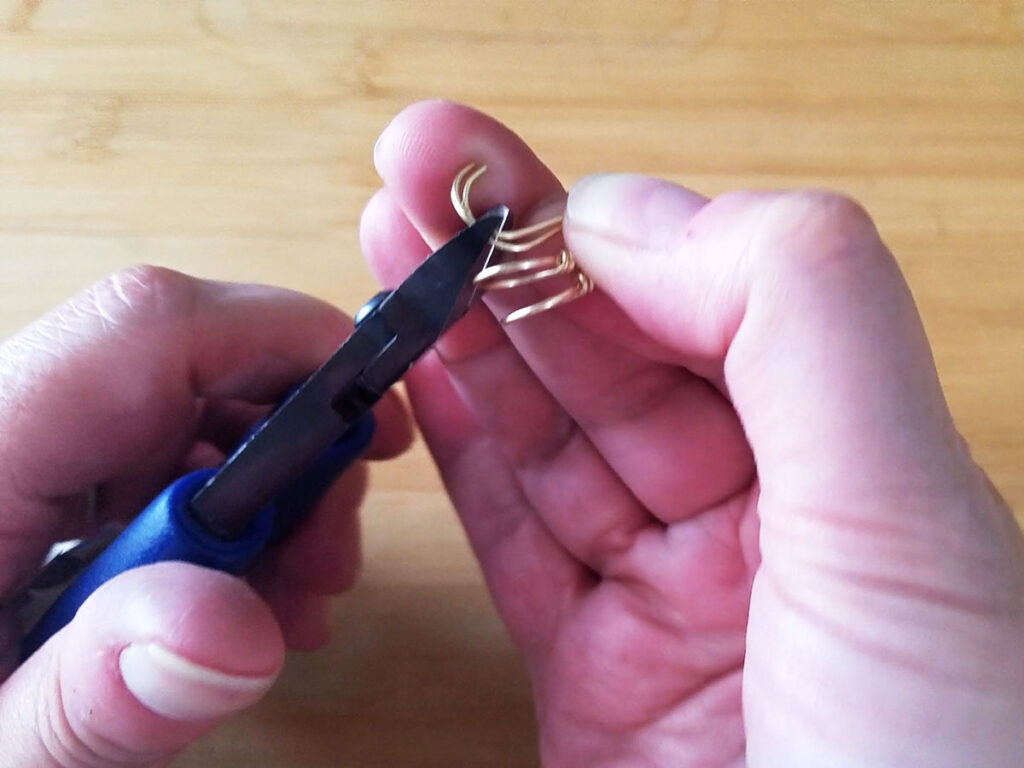
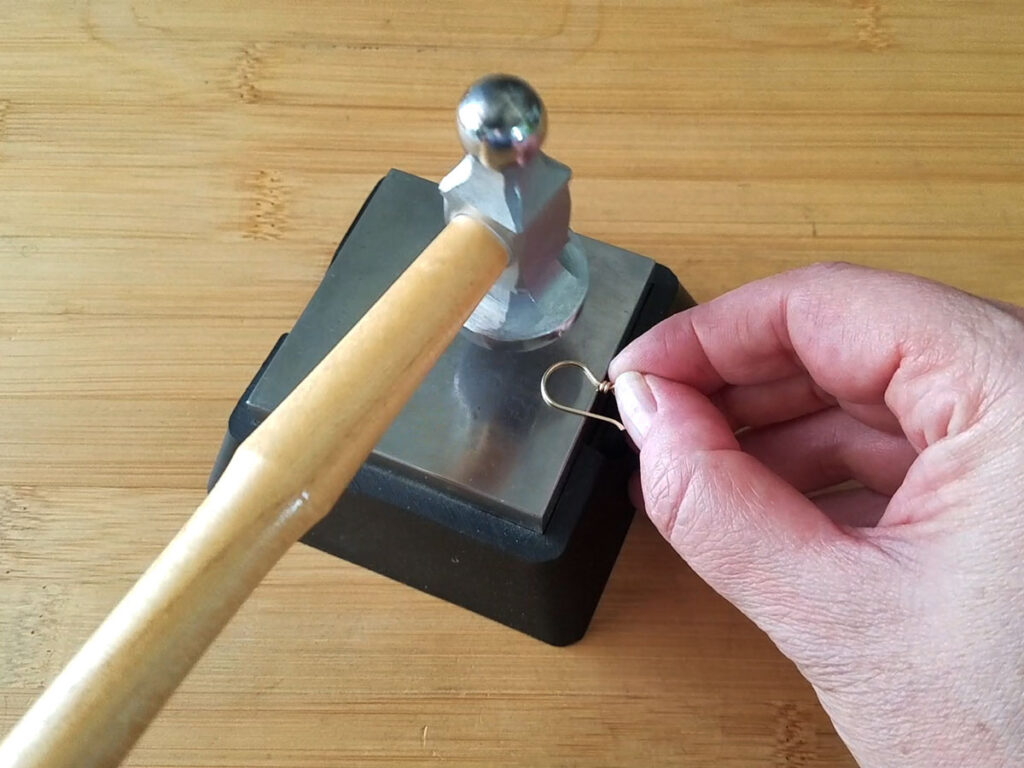
Step 14 – Work harden the ear hooks
Use your chasing hammer or nylon mallet and your bench block to harden the hooks. I like to slightly flare the ends of my ear wires and the tops of the hooks, as shown.
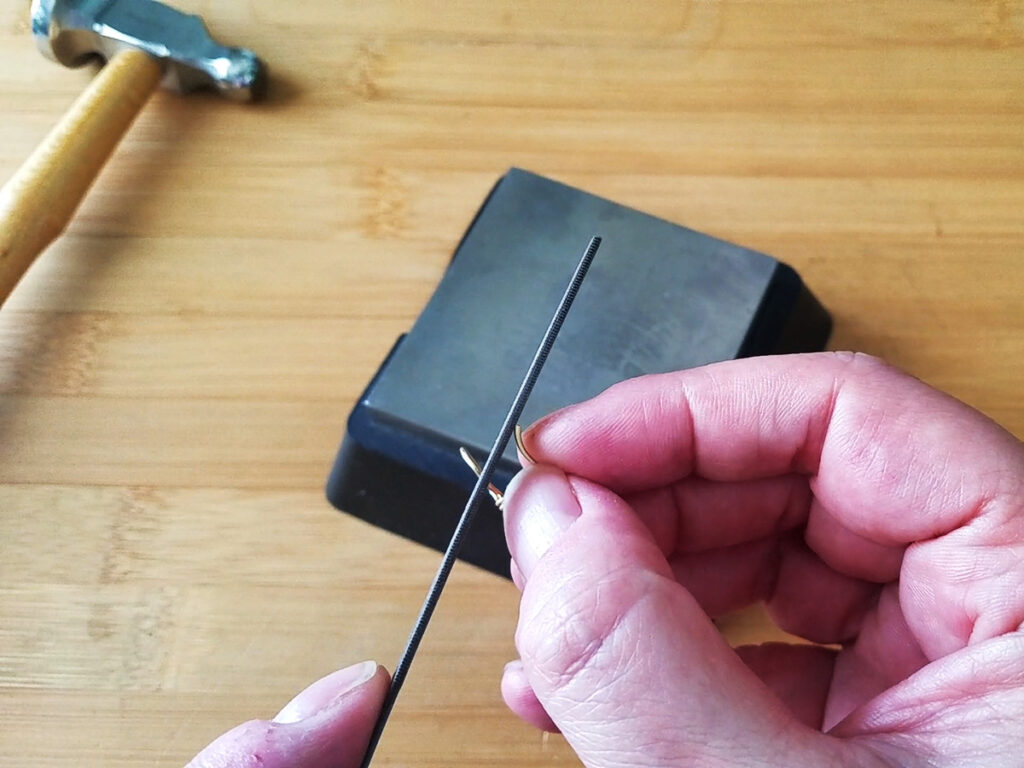
Step 15 – Shape and refine your ear wires
The last thing we’re going to do is to smooth and shape the ends of the ear wires so they’ll slip comfortably though a pierced ear. Use your needle file and/or sandpaper to smooth off any sharp corner on the cut ends of your ear wires.
It helps to twist your ear wires open like a jump ring so you can get to the tips of the ear wires easily with your needle file.
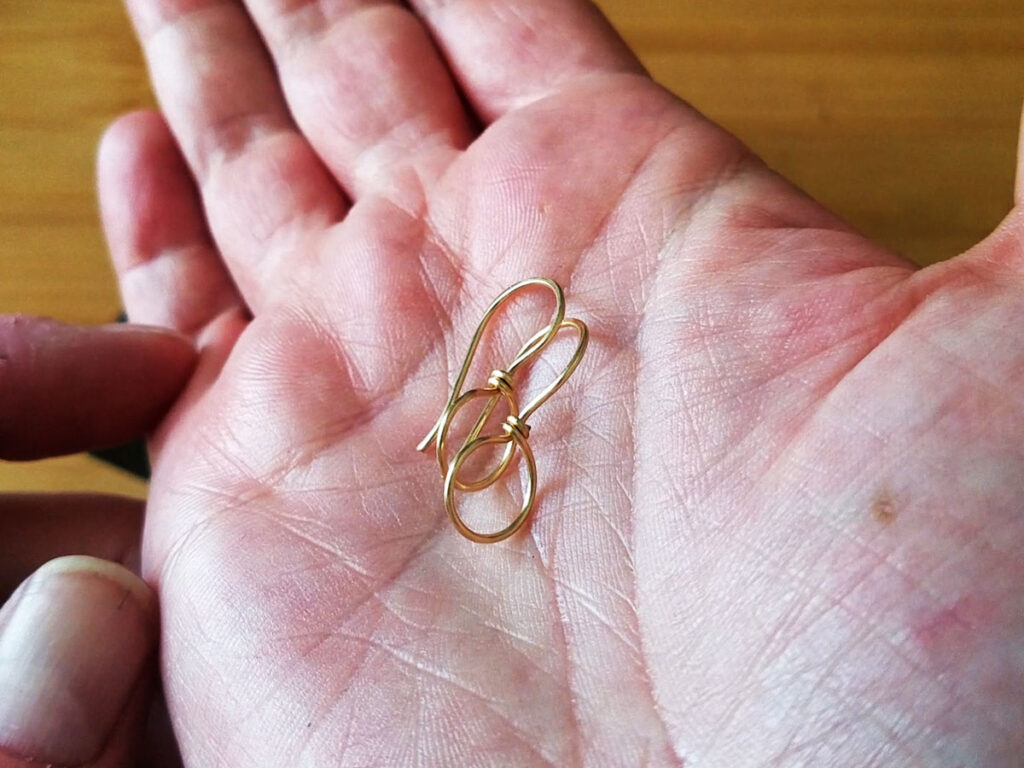
That’s it! Your ear wires are ready to use. If you like you can use patina to give them an antiqued brass look (see below for more finishing info). Or just toss them in your tumbler for a few hours to get a beautiful bright brass finish.
Related Posts
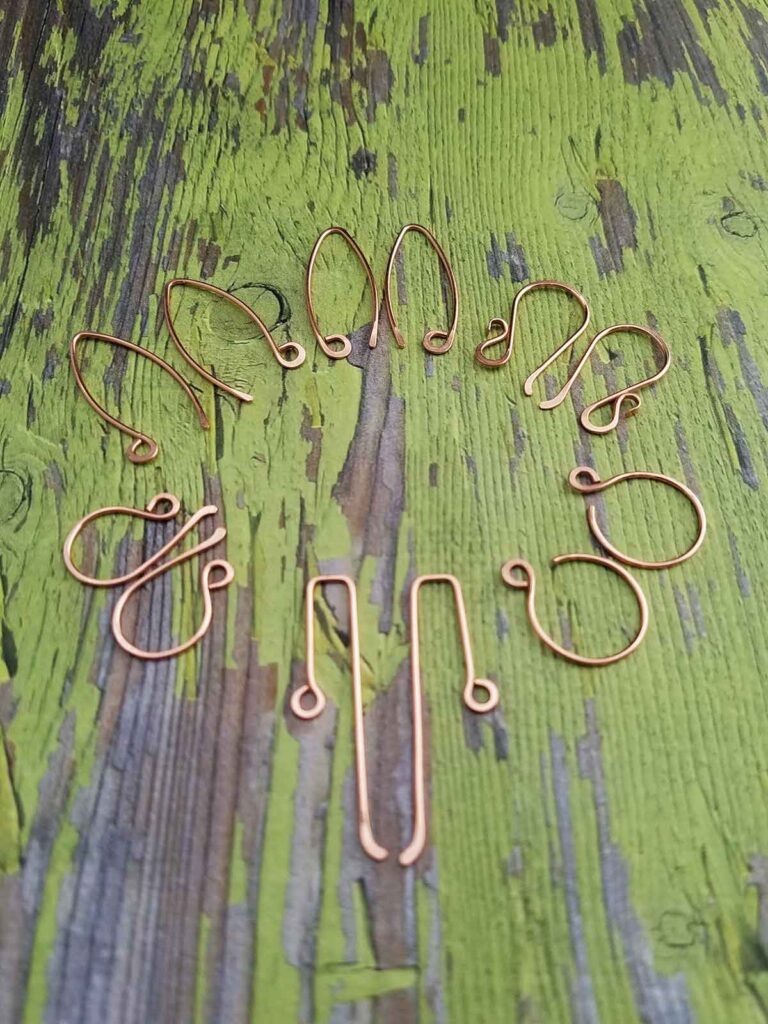
Want to explore more earring findings? I have five other tutorials for ear wires that you might like. Just click the links below to review the free tutorials.
related posts
More FREE Ear Wire Tutorials
Or, if you’d prefer to have these tutorials in a printable format so you can keep them on hand for reference, grab my perfectly matched ear wires bundle and save 25% off the regular price in my shop! Just click the button below to have that bundle of five ear wire tutorials delivered straight to your inbox.
Get the bundle and save!
Download all 5 of my most popular ear wire tutorials
Grab my popular ear wire tutorial bundle today and save 25% off the normal price of $20 in my Etsy shop. This bundle, which will be delivered straight to your inbox, includes detailed full-color printable tutorials for all five of the ear wire shapes you see pictured here.
Variations
Change the Size of the Loops
These ear wires can be easily modified for any size loop. Make them as big or as small as you like! They can even be worn unadorned for a minimalist look.
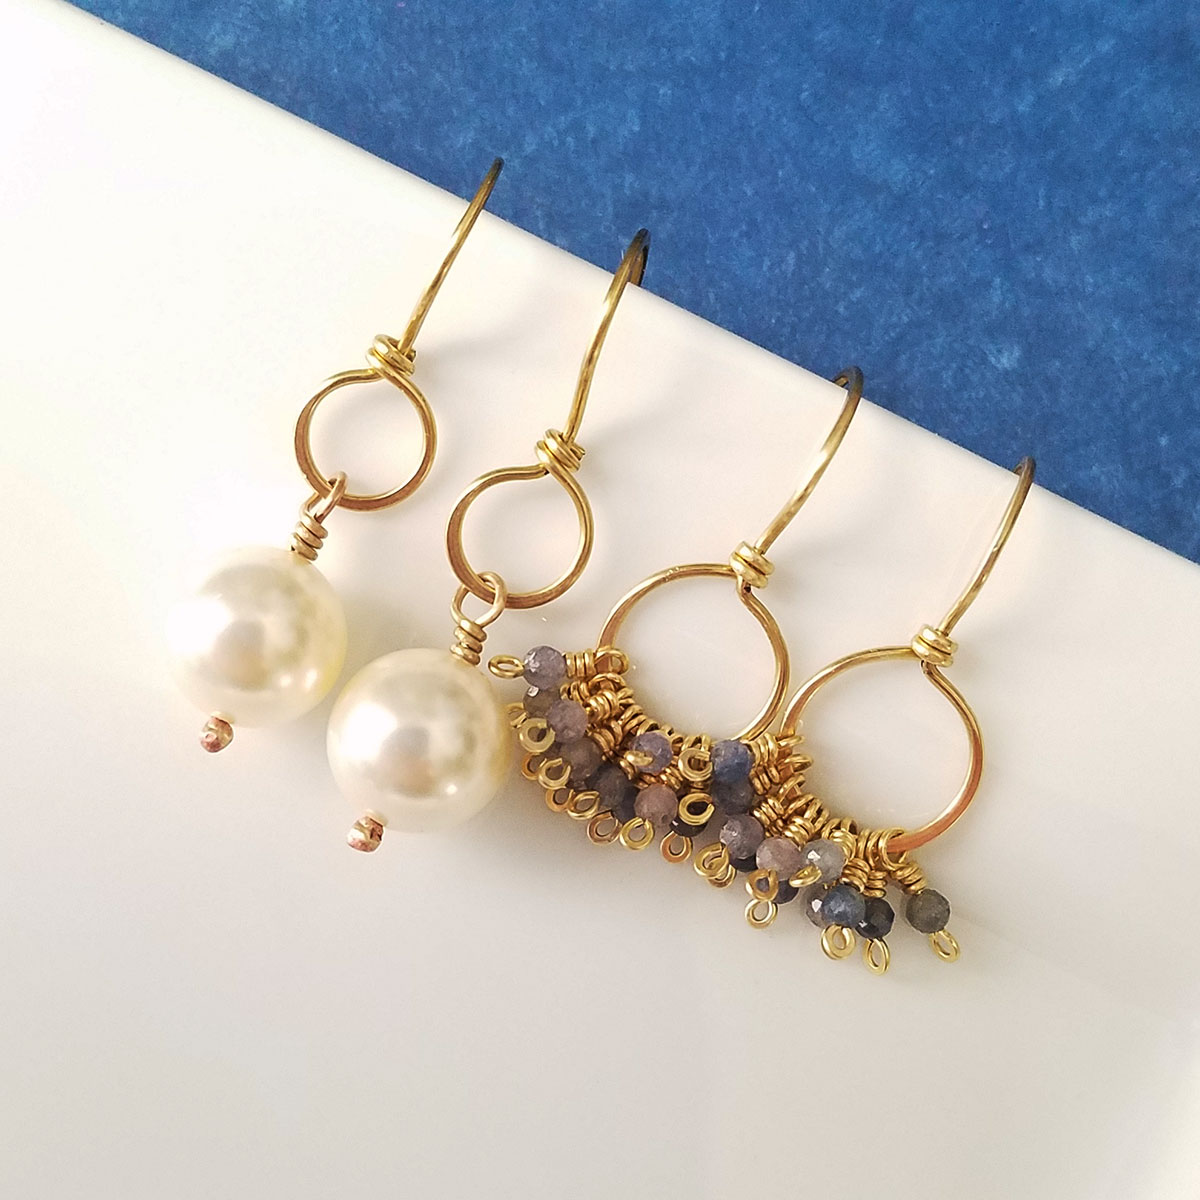
Add Beaded Dangles
For a super quick and simple gift, just add beaded dangles! Here I’ve used classic 10mm pearls for a pair of more understated earrings. And I also used some sweet little 2mm sapphire beads to create some fun and flirty fringe.
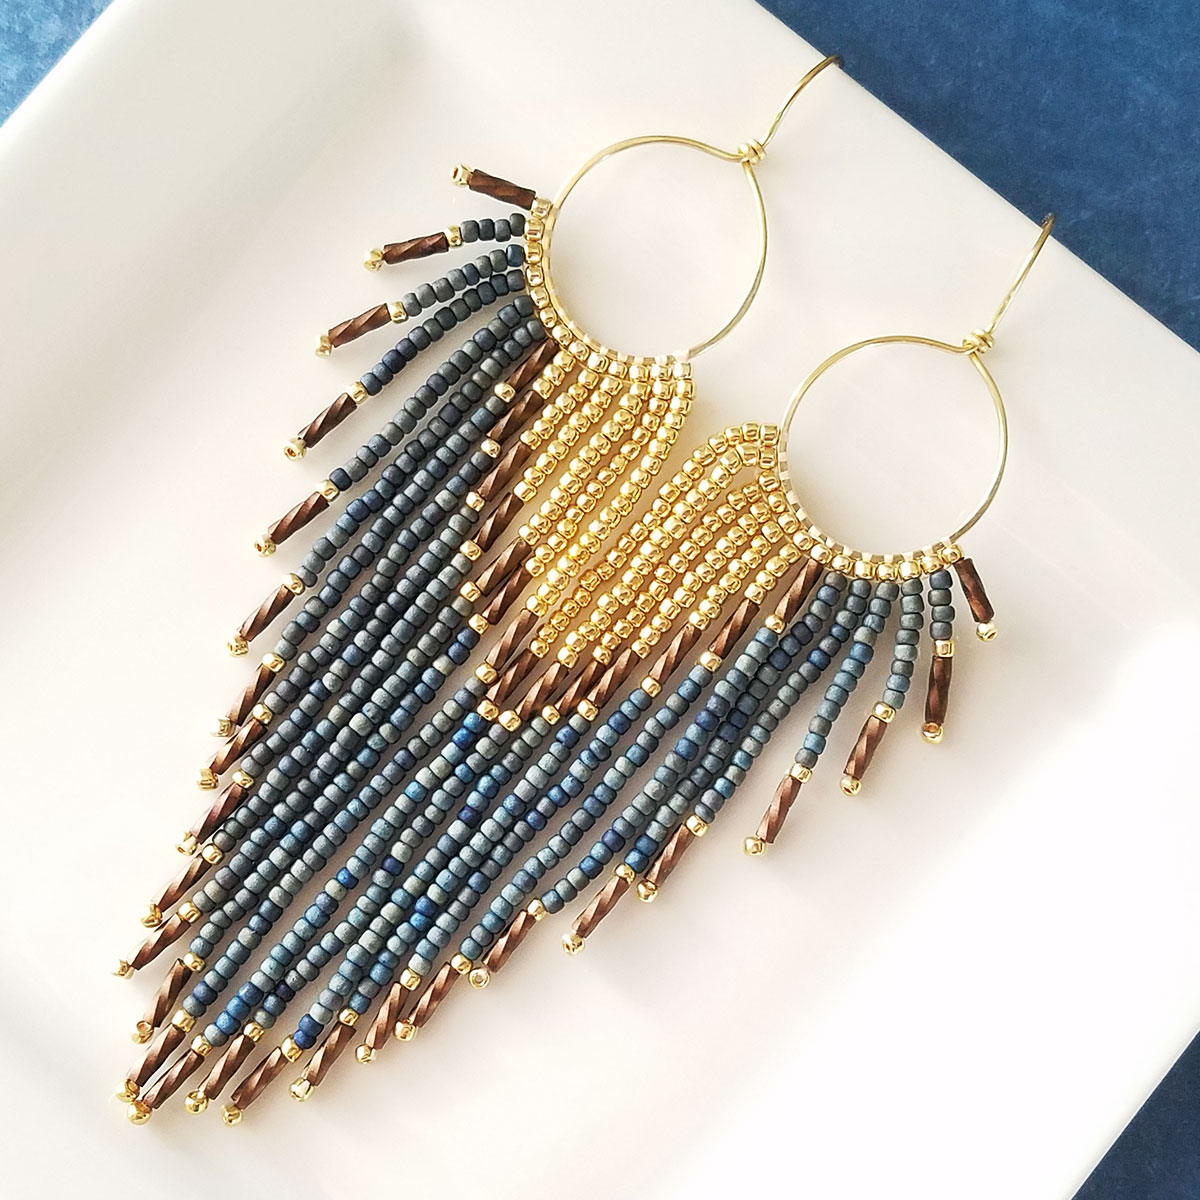
Add Your Own Earring Designs
These ear wires also make the perfect foundation for almost any bold, graphic earring design. Here I made some very large loops using Size 9 on my ring mandrel. Then I added some long beaded fringe to create these elegant shoulder dusters.
Finishing Suggestions
I patina all of my copper and silver jewelry with Liver of Sulfur (LOS), and then I burnish the patinated pieces with super fine steel wool (Grade #0000) in a warm bath of water and original Blue Dawn dish soap. The steel wool brings back the bright copper highlights on the high spots.
Once that’s done, I rinse the jewelry thoroughly to remove any particles of steel wool. Then I put the jewelry in a tumbler barrel filled with warm water and a generous squirt of Blue Dawn. I tumble all of my finished jewelry for a minimum of two hours.
There’s a lot of debate about whether tumbling will work harden wire. My experience is that you can achieve some hardening, but only by tumbling for extended periods of time. So, two hours on the tumbler won’t make a noticeable difference. Twenty-four hours of tumbling does seem to noticeably increase hardness, however.
I never recommend tumbling wire jewelry with beads or gemstones for extended periods. However, there’s no risk in tumbling plain wire findings for several hours. Tumblers are designed to run for days at a time because that’s how long it takes to polish rough stones. So, if you don’t mind listening to the rustle of a tumbler for a full day, give it a try. And let me know if your ear wires came out of the tumbler noticeably harder than when they went in.
If you’re new to wirework, read this detailed tutorial that walks you through my 7-step patina process. And if you’re wondering why I recommend tumble polishing specifically, check out this post. Also, be sure to clean your steel shot regularly. Because clean shot gives you the best possible final finish on your jewelry.
Modern Big Loop Ear Wires Tutorial
Get a Printable Version
Want this tutorial in a handy printable format? Grab the downloadable PDF version of this tutorial today.
Discover More Behind Door 44
Thanks so much for joining me today. I hope you enjoyed creating your own Modern Big Loop Ear Wires from scratch. If you’d like a printable PDF version of this tutorial, you can find it here.
Want more wire jewelry goodness?
I like to share useful wire weaving tips and tricks on my social media channels, and we have some great conversations about wire jewelry in my private Facebook Group. Also, be sure to connect with me @door44studios on Instagram, and Facebook to keep up with everything that’s happening behind Door 44. And if you haven’t already done so, be sure to subscribe to my YouTube channel where you’ll find new wire jewelry videos weekly.
Until next time, go make something beautiful!

